
Yarn Tapestries are the new trendy wall art, and they look beautiful just about anywhere! I am not even ashamed to admit that I have at least 5 hanging in random areas of my house--and guess what? I made them all! When I first stumbled upon these babies, I was so intimidated to make one because they look so intricate. Once I started one though, I realized that they are not that complicated to make and require minimal materials. But they do still require a bit of time because of all the measuring and cutting. I like to make them while watching a few episodes of Gilmore Girls after putting the kiddos to bed. Here are the steps to making your own darling yarn tapestry.
Supplies:
- Yarn (I like to use at least 3 different colors for variety)
- Wooden Dowel (I used a 24 inch one)
- Scissors


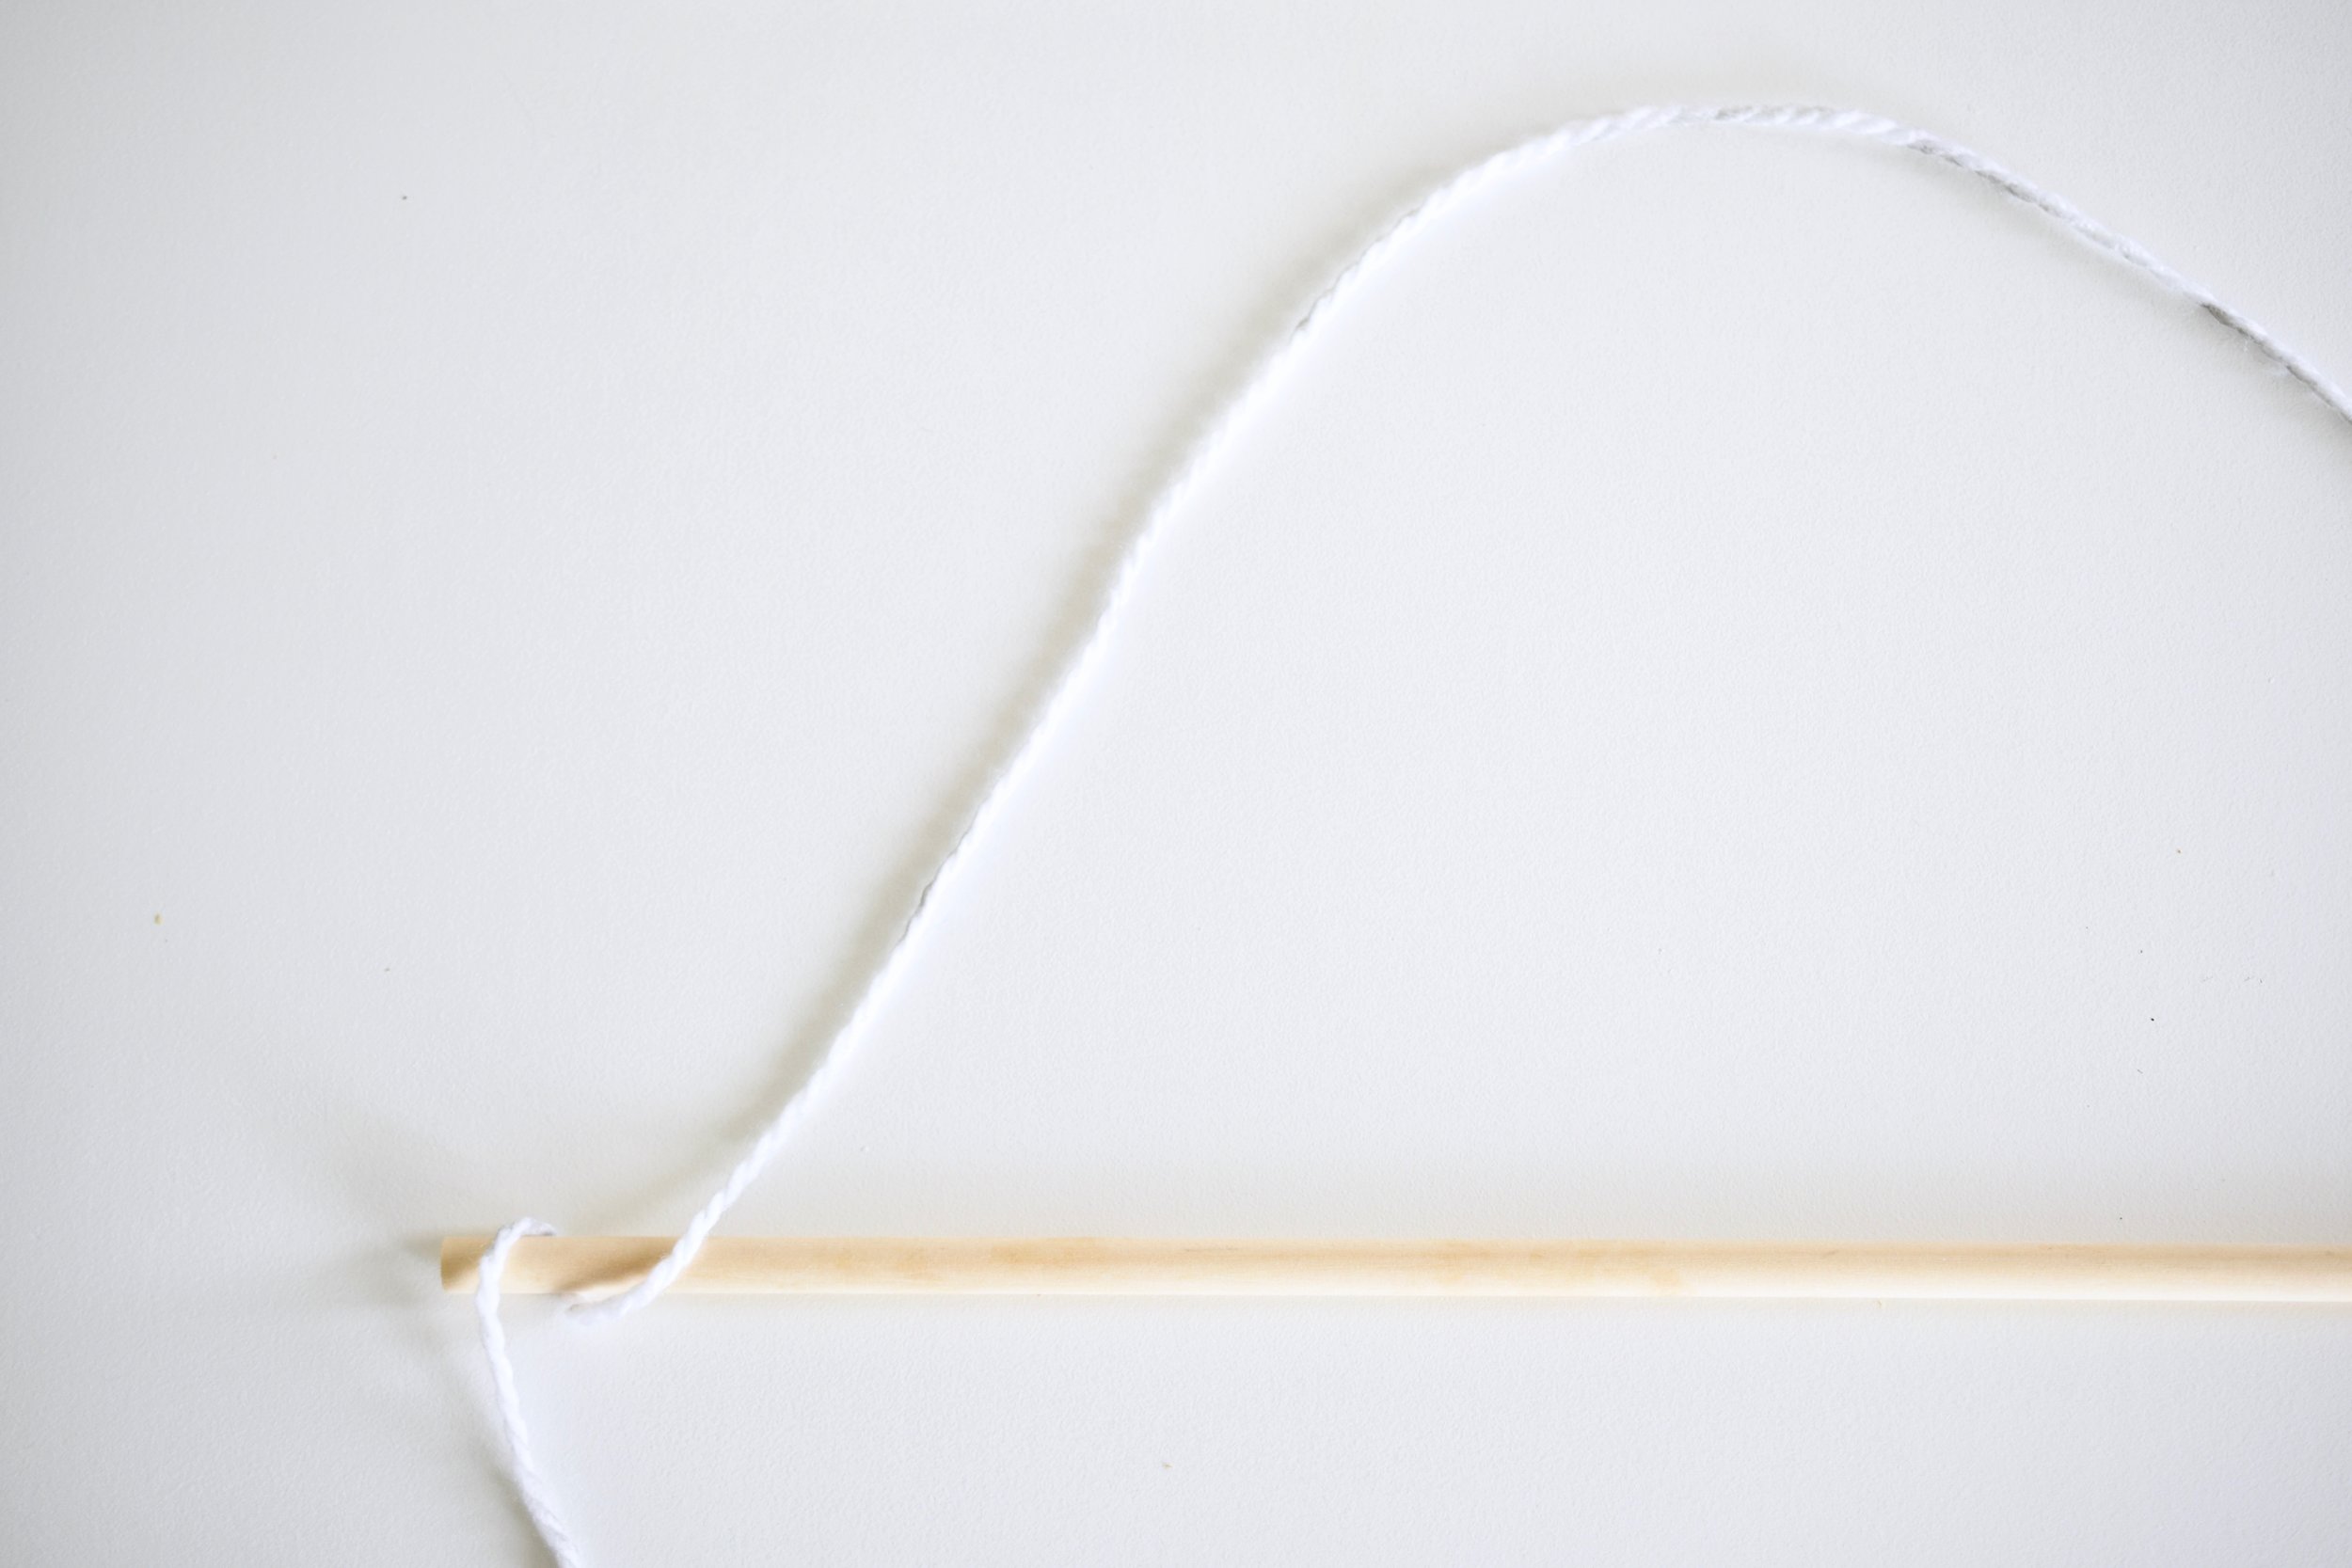
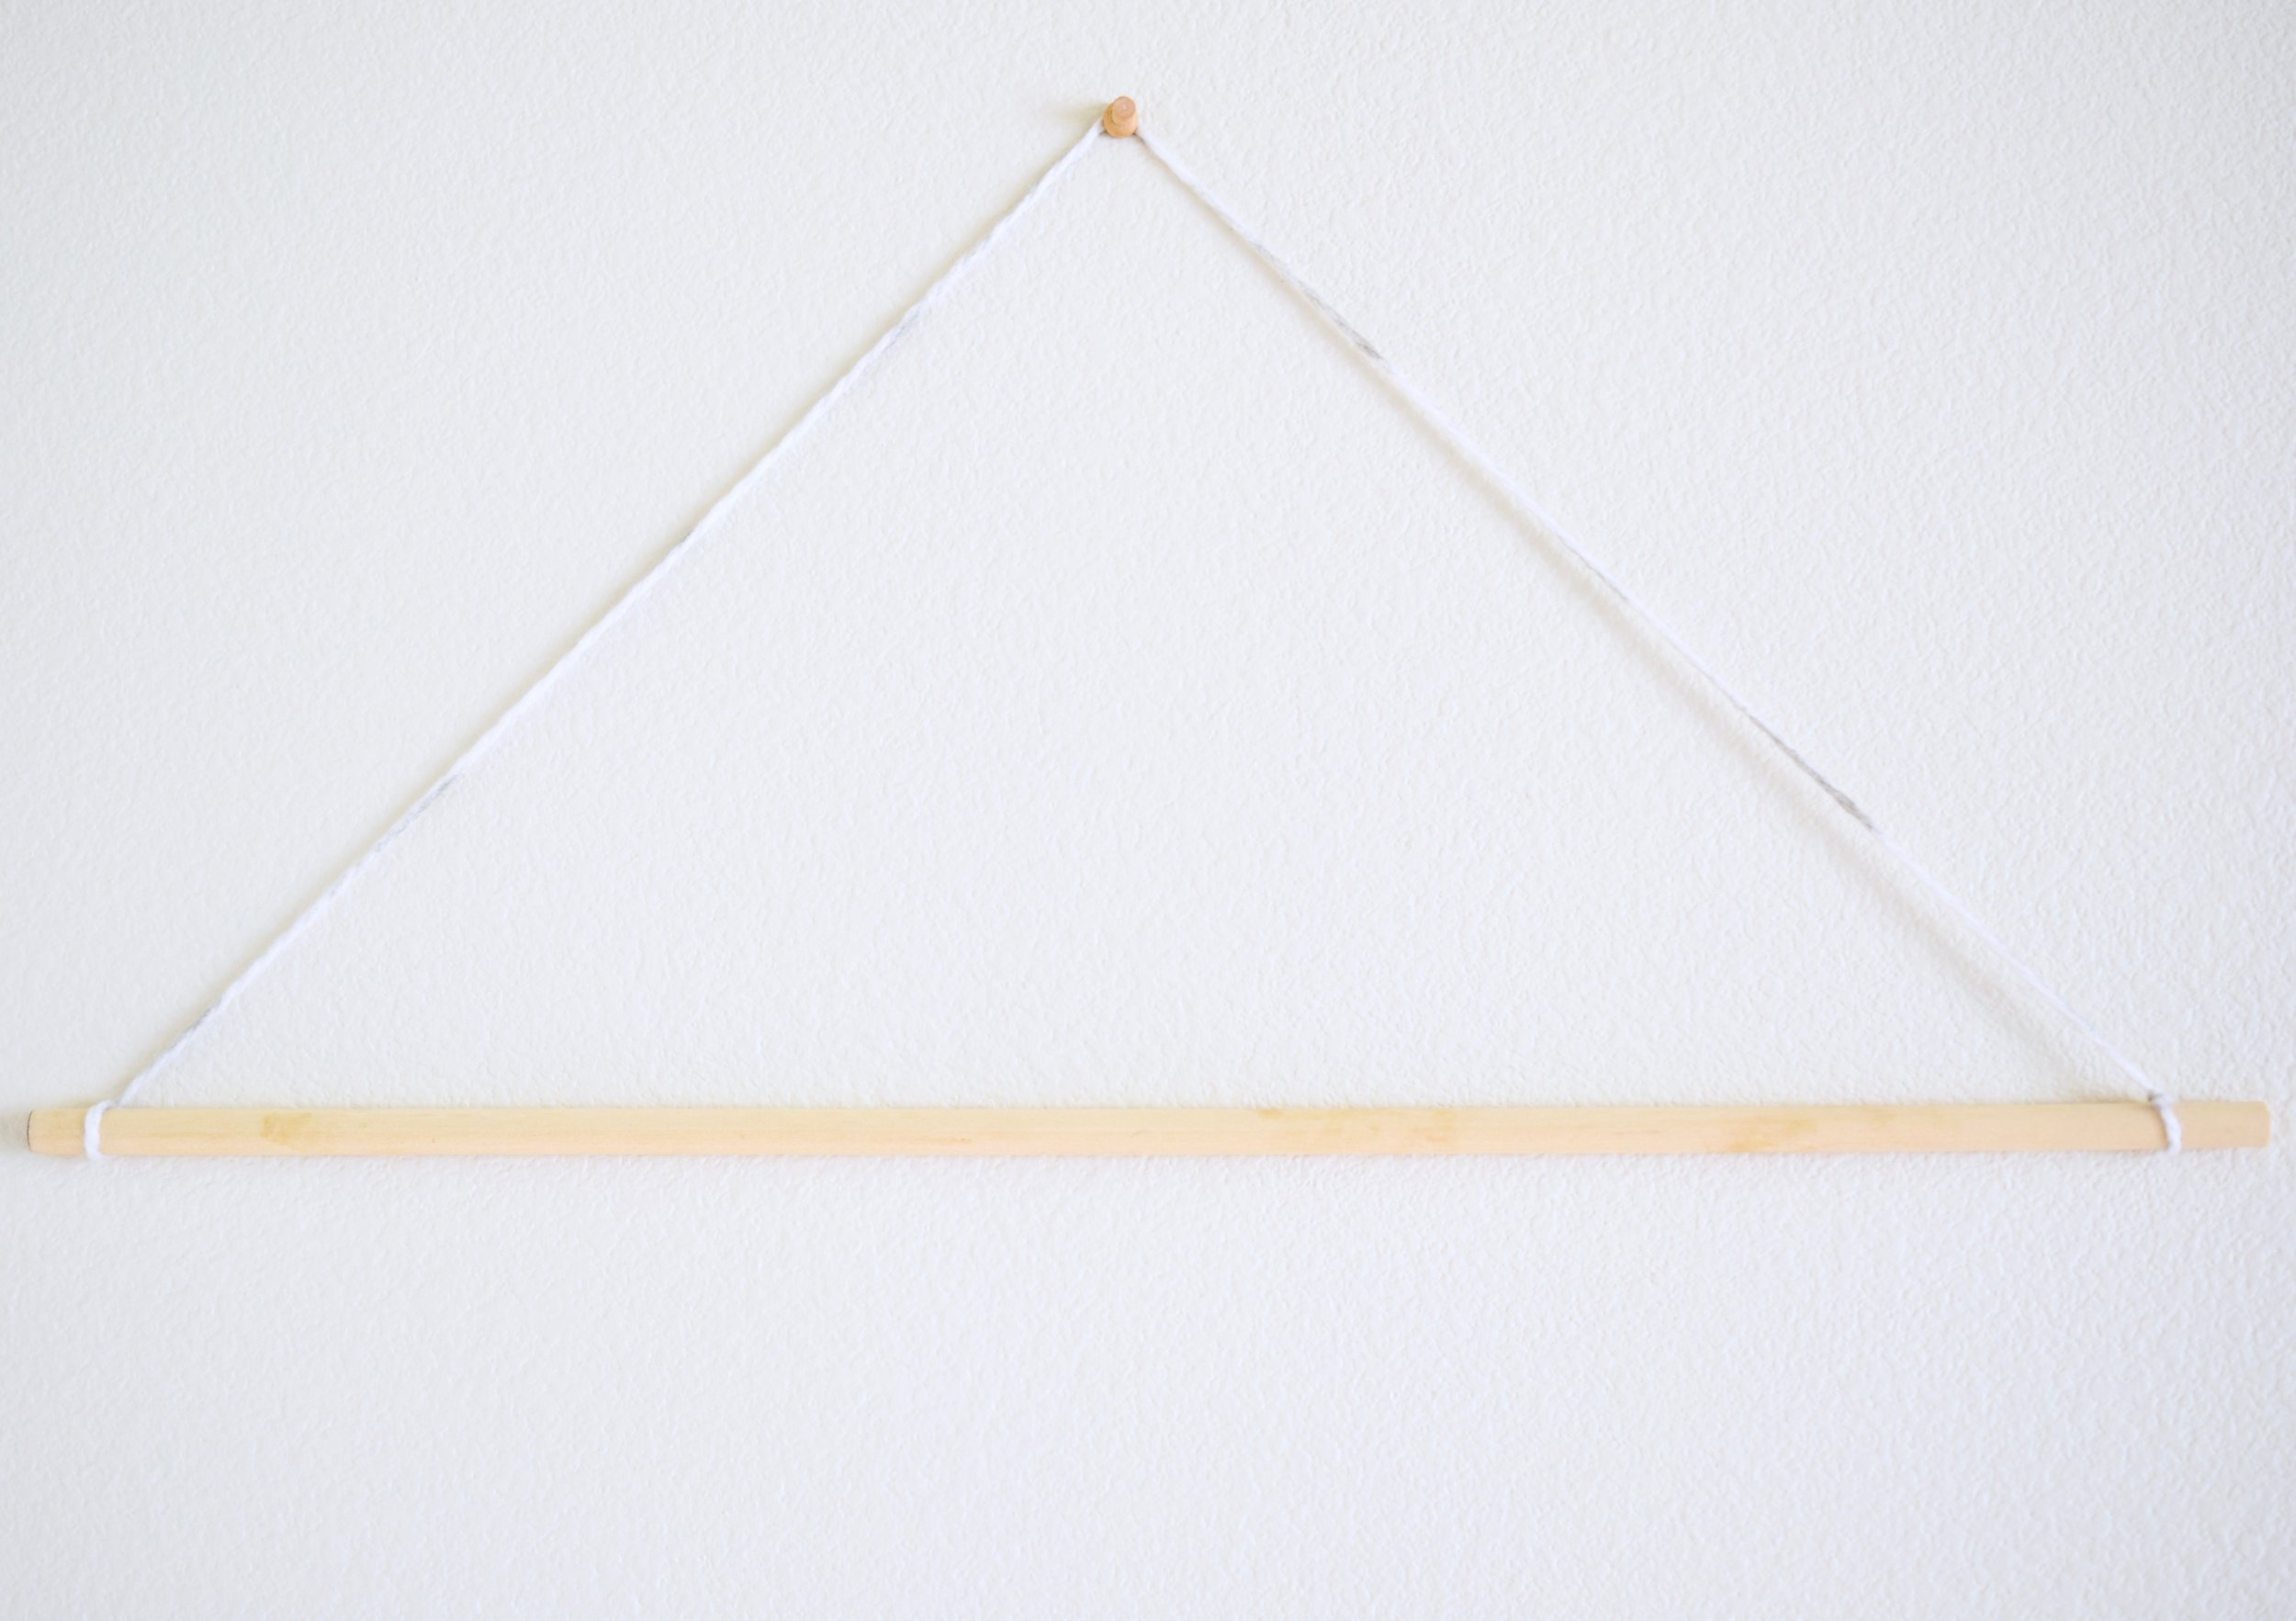
Step 1: Cut a long string and tie it around your dowel so you can hang it up. This makes it easier to loop the yarn through the dowel without tangling all of the yarn.
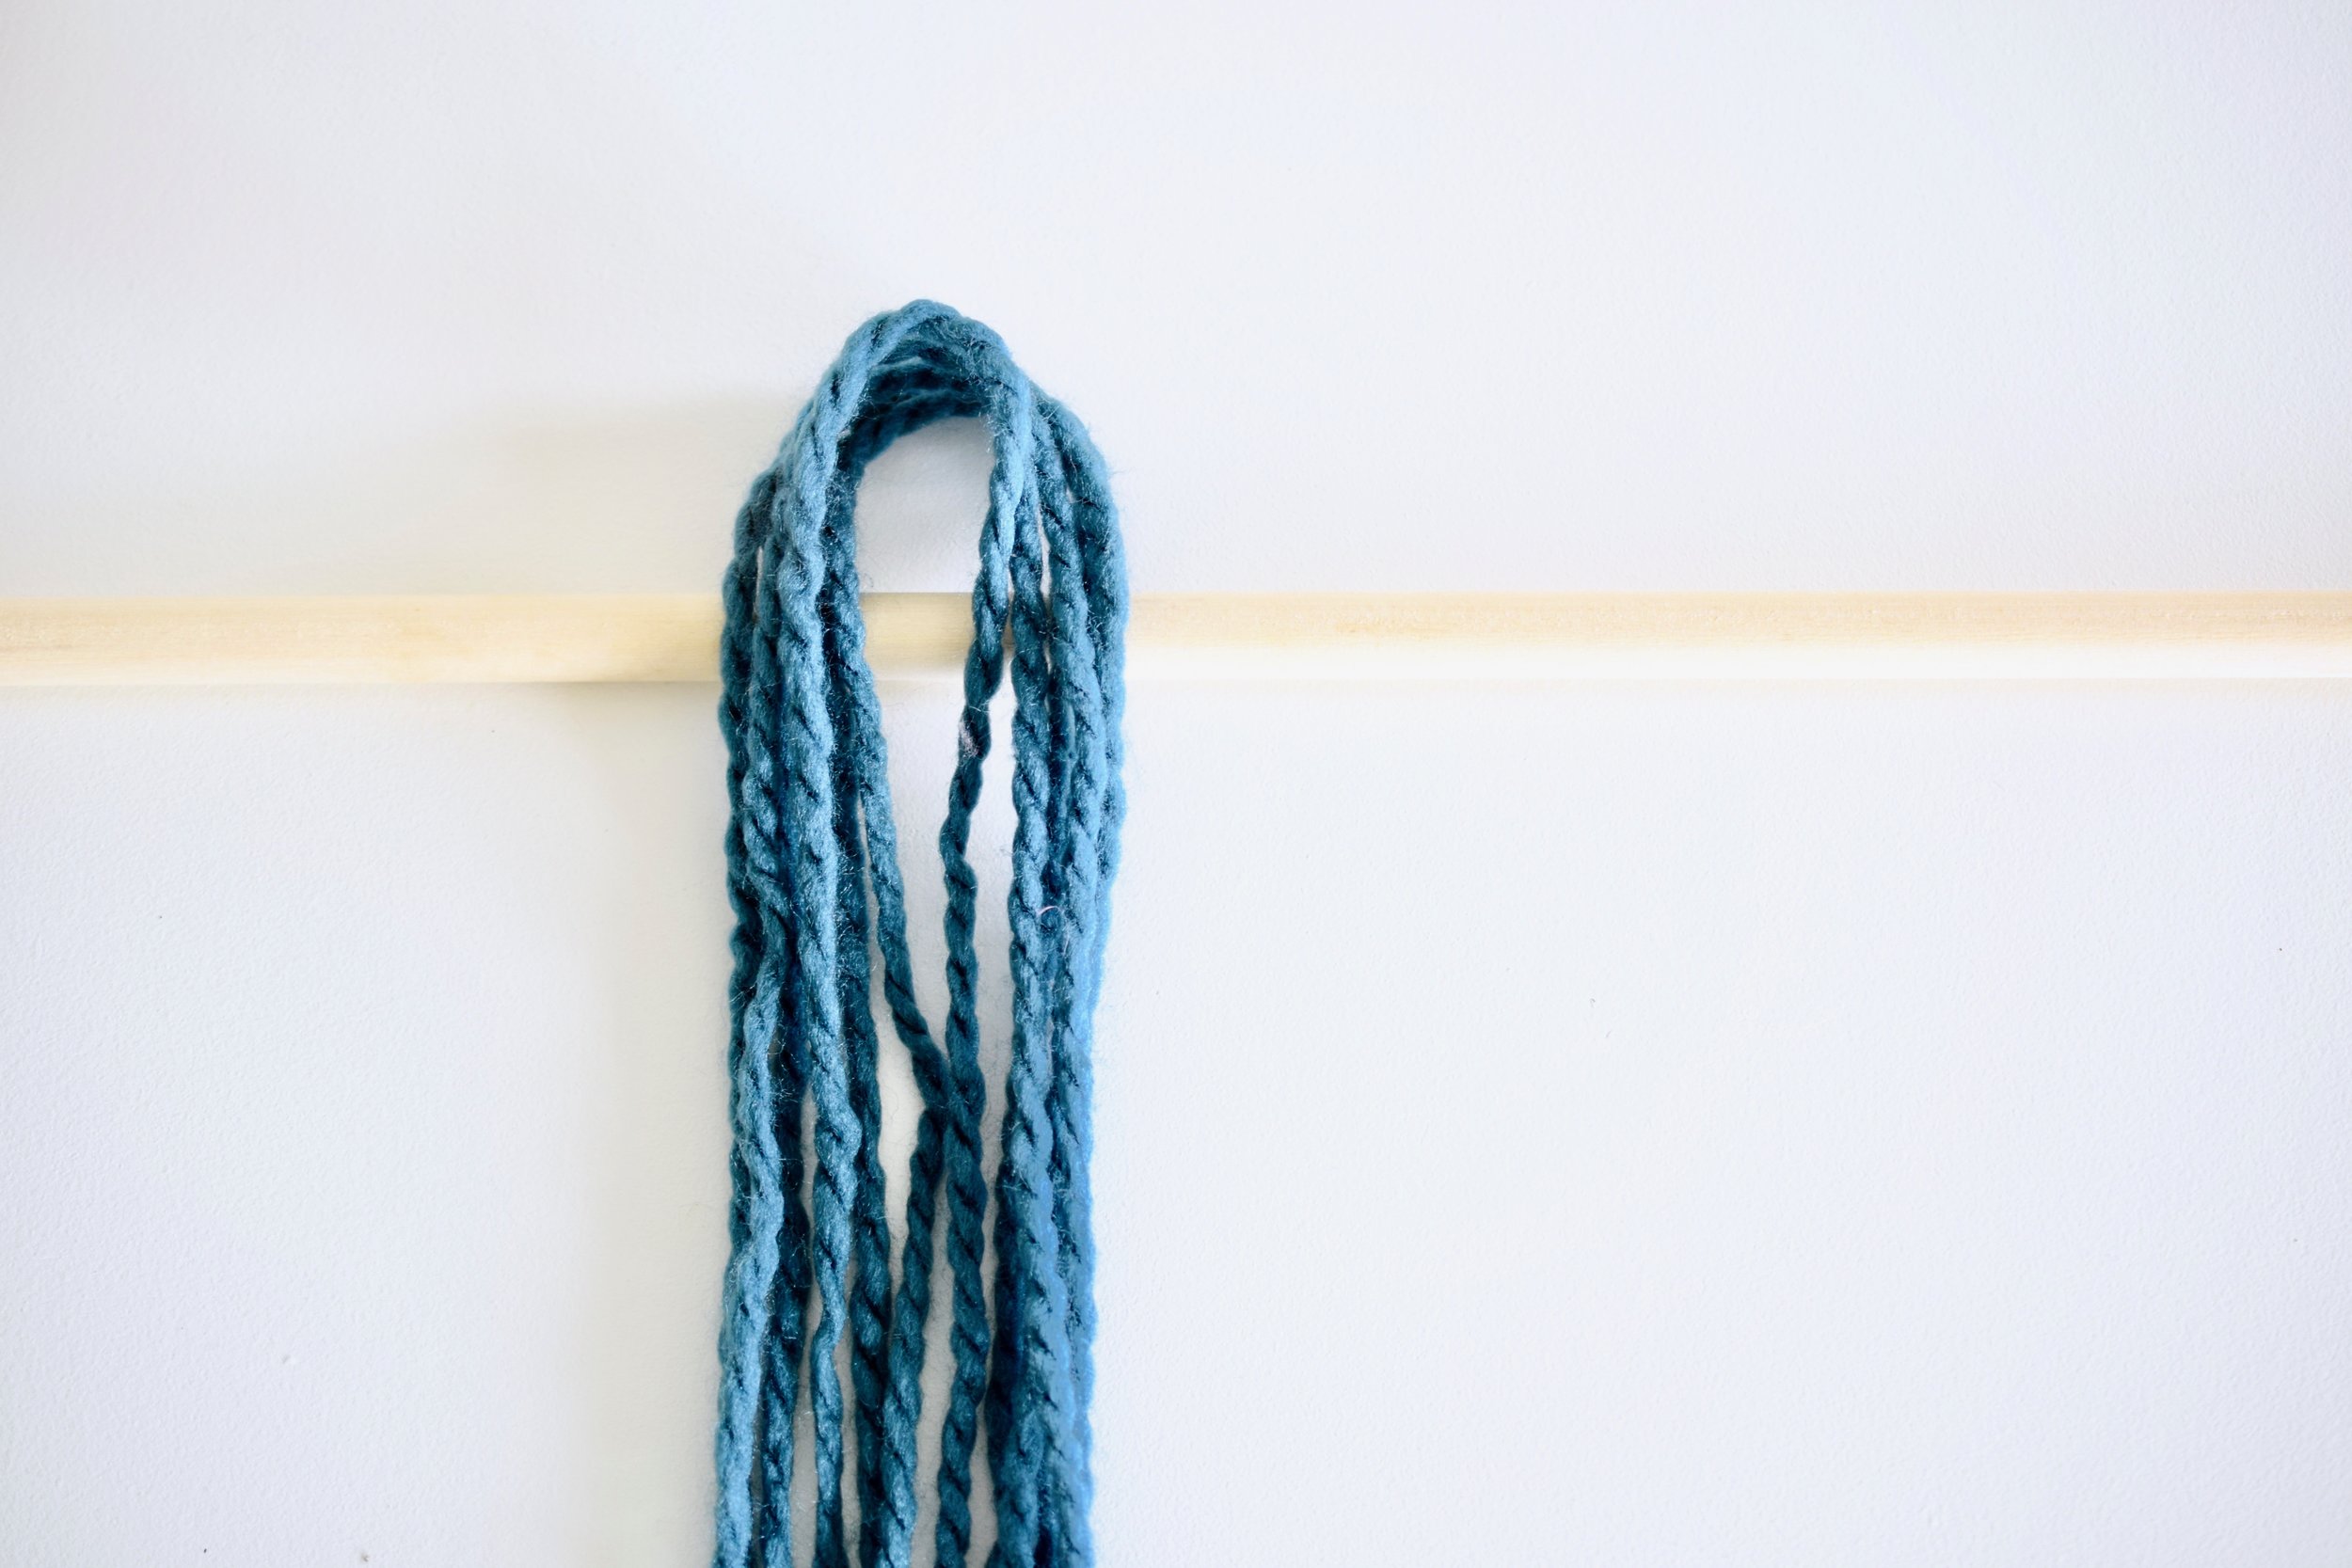
Step 2: Cut your strings. I cut each string about 60 inches long to leave some extra room to trim later. I like to cut about 6-8 strings per bunch, but it depends on the thickness of your yarn. I used pretty thick yarn this time, so I only cut about 6 pieces per bunch.


Step 3: Tie your string. After cutting your 6 strings, fold the bunch of strings in half and then loop it around your dowel to create a knot. Repeat cutting the strings, bunching it up, and tying it to the dowel about 2 or 3 more times, depending on how much of that color you want. I started with three bunches of the turquoise color, and then added a fourth later.


Step 4: Repeat Step 3 with the rest of the colors. This is where it gets fun! You can add whatever colors of yarn you want and make whatever pattern you want! I tend to stick with neutrals and add a pop of color. Remember, keep your strings long enough so you have some room to trim the string.


Step 5: Trim your tapestry. You can get creative with this part too. I trimmed the yarn in steps and by color, but you can trim it anyway you want! Sometimes I like to create a V with the string, and sometimes I like the more abrupt edges.


